OpenBSD VPS for $5 a Year
2026-09-08
I believe I have found the cheapest VPS provider on the internet. It costs just ~$5 per year! You read that right. Not $5 per month or even quarterly. That is the total annual cost.
Best of all, OpenBSD is natively supported as one of the default image selections. (They also provide several other OS images, including FreeBSD if that’s more your jam)
TL;DR
The VPS provider is TierHive. Creating an account is fairly straightforward for the technically savvy, but I’ve included a detailed guide below for those who might be interested.
The VPS Specs at a Glance
| Spec | Value |
|---|---|
| CPU (vCores) | 1 vCPU |
| CPU Priority | Medium Priority |
| RAM | 512 MB |
| Fast Disk (NVMe) | 2 GB |
| IOPS Tier | Medium Performance |
| Network Tier | Medium Performance |
| Slow Disk (HDD) | None |
If you want to see a live example running on TierHive with the same specs as above, take a look at openbased.xyz.
Setting Things Up
Start by creating a new account with TierHive and then log in. From there, navigate to the VPS Instances page from the sidebar options and click Deploy VPS.
On the VPS configuration page set the following values:
- Friendly Name
- your-cool-name
- Hostname
- your-cool-hostname
- Location
- Preferred location
- Operating System
- OpenBSD 7.9
- Resources
- Set RAM to at least
512MBand NVMe to2GB - Performance Tiers
- Leave these at their defaults (or increase if you desire)
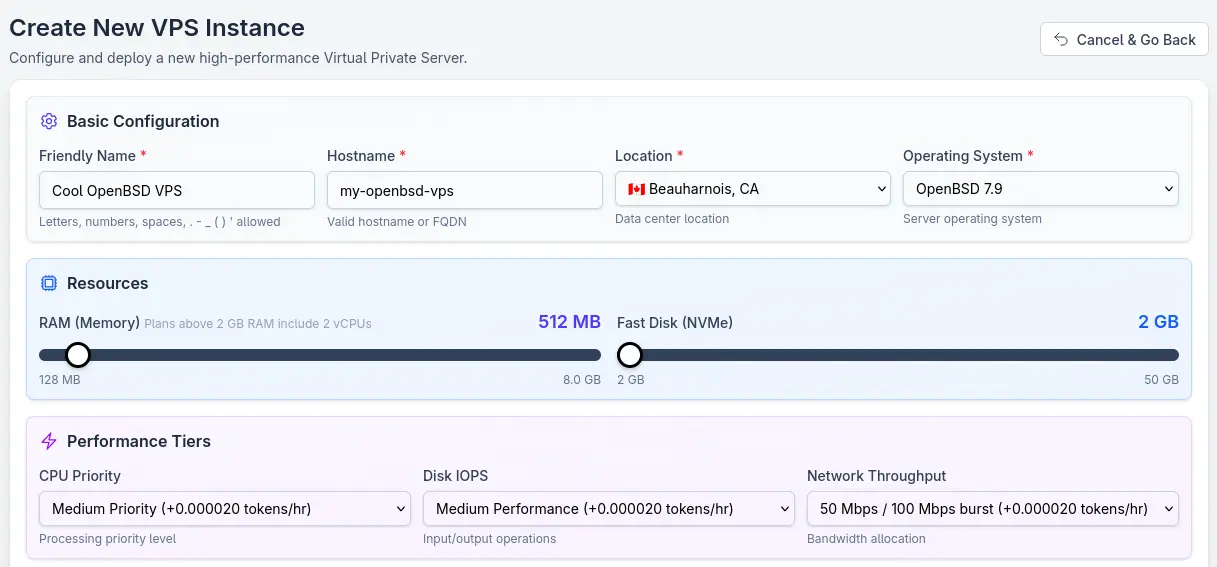
Then select your private IP from any of the available sets provided and target your DNS. Make sure you add and attach your own SSH key to this VPS instance as well.
With those settings the monthly token usage for this VPS will be ~0.409384, which equals out to just $4.90 per year!
Now deploy it!
First Boot
Once the VPS has finished deploying, you’ll be able to access its specific settings under the same VPS Instances menu. Your SSH access details and other important information will be under the Server Information panel.
Now is a good time to SSH into your server and take a look around at your install to make sure everything works as intended.
Custom Domains
You already have a working OpenBSD VPS install, but many of us would prefer to connect custom domains and setup proper SSL security. TierHive provides its own HAProxy service to make this extremely painless.
Navigate to the HAProxy tab in the sidebar menu and then click Add Domain. You will be asked to add a custom TXT DNS record to your domain. Add it and wait for it to propagate before proceeding.
Once TierHive confirms DNS record you can continue.
Under the newly added domain’s panel, click Configure Backends. The following are the standard settings I use, but feel free to change as you see fit:
- How do you want to configure your backend servers?
- Single Server
- How should your single server be accessed globally?
- Regional Access
- Your Backend Server
- Select your OpenBSD VPS here and set port
80
Select Save Configuration and you’re done!
Configuring SSL
The issuing of SSL certificates is handled automatically by TierHive. If your domain is correctly setup (see above) and pointing at the proper Location IP, simply select Activate SSL. TierHive will configure everything for you and you will see details of the certificate under the domain’s panel once it completes.
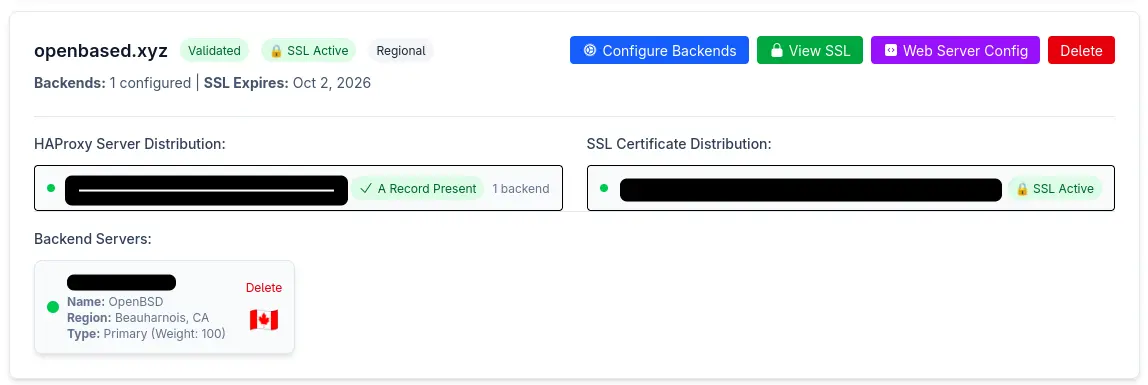
That’s it. Enjoy your very cheap (in price) OpenBSD VPS!