Installing OpenBSD on Linveo KVM VPS
2024-10-21
I recently came across an amazing deal for a VPS on Linveo. For just $15 a year they provide:
- AMD KVM 1GB
- 1024 MB RAM
- 1 CPU Core
- 25 GB NVMe SSD
- 2000 GB Bandwidth
It’s a pretty great deal and I suggest you look more into it if you’re interested! But this post is more focused on setting up OpenBSD via the custom ISO option in the KVM dashboard. Linveo already provides several Linux OS options, along with FreeBSD by default (which is great!). Since there is no OpenBSD template we need to do things manually.
Getting Started
Once you have your initial VPS up and running, login to the main dashboard and navigate to the Media tab. Under CD/DVD-ROM you’ll want to click “Custom CD/DVD” and enter the direct link to the install76.iso:
https://cdn.openbsd.org/pub/OpenBSD/7.6/i386/install76.iso
i386 build in order for this to work.
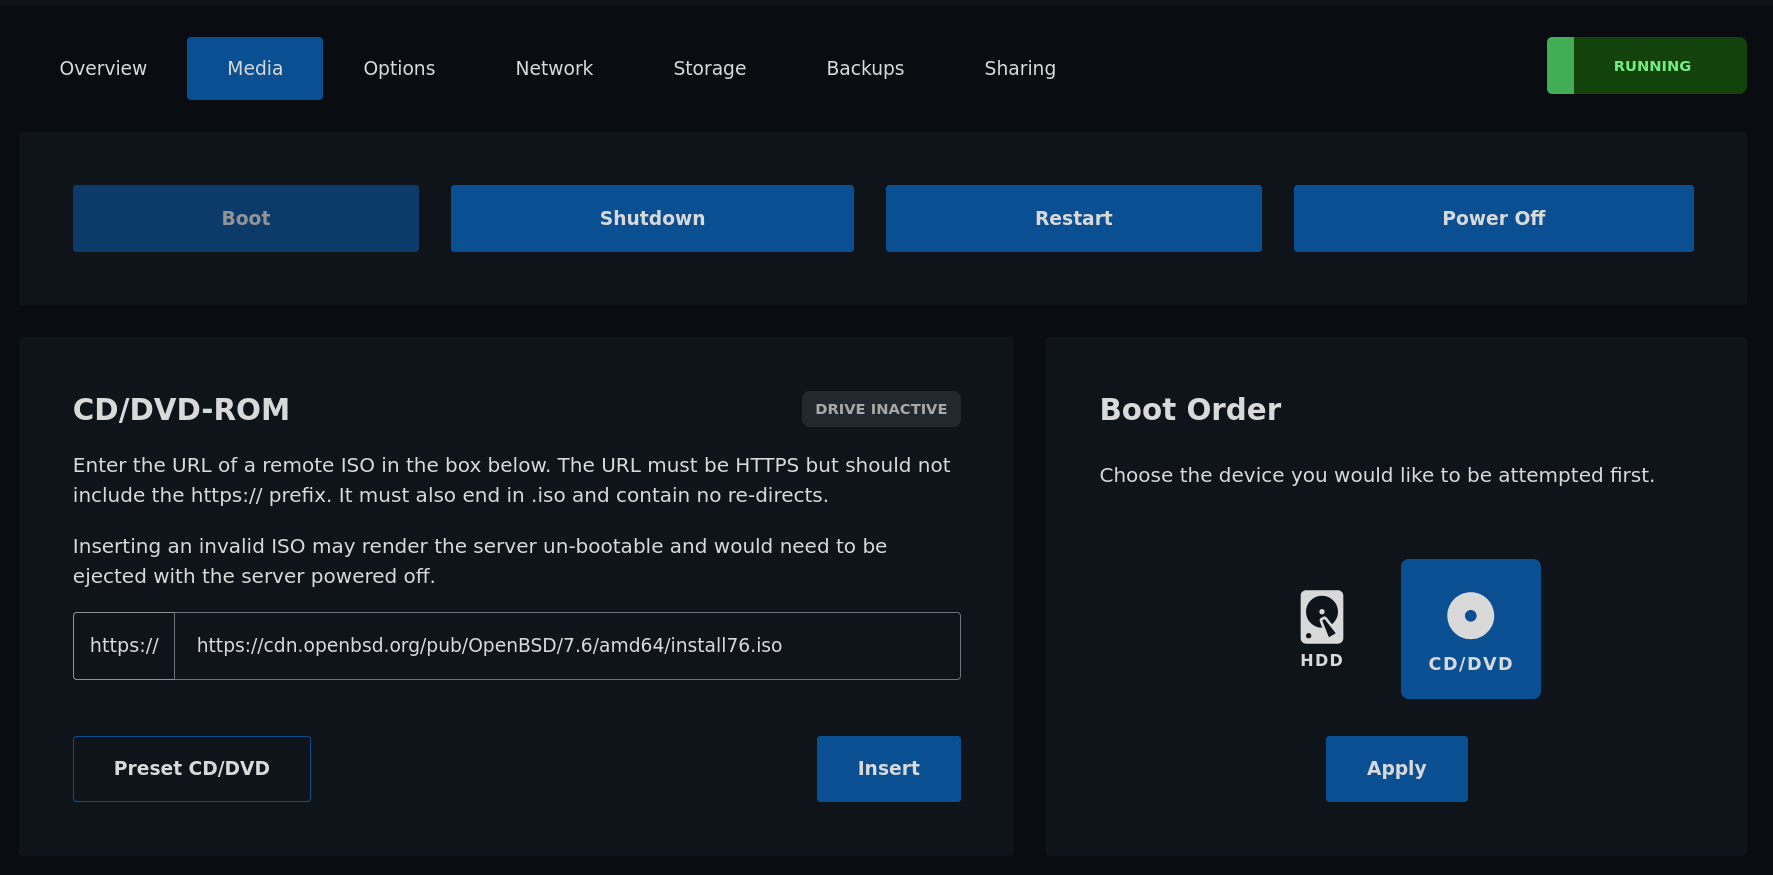
Select “Insert”, then set your Boot Order to CD/DVD and click “Apply”. Once complete, Restart your server.
Installing via VNC
With the server rebooting, jump over to Options and click on “Browser VNC” to launch the web-based VNC client. From here we will boot into the OpenBSD installer and get things going!
Follow the installer as you normally would when installing OpenBSD (if you’re unsure, I have a step-by-step walkthrough) until you reach the IPv4 selection. At this point you will want to input your servers IPv4 and IPv6 IPs found under your Network section of your dashboard.
Next you will want to set the IPv6 route to first default listed option (not
“none”). After that is complete, choose cd0 for your install media (don’t
worry about http yet).
Continue with the rest of the install (make users if desired, etc) until it tells you to reboot the machine. Go back to the Linveo Dashboard, switch your Boot Order back to “Harddrive” and reboot the machine directly.
Booting into OpenBSD
Load into the VNC client again. If you did everything correctly you should be
greeted with the OpenBSD login prompt. There are a few tweaks we still need to
make, so login as the root user.
Remember how we installed our sets directly from the cd0? We’ll want to
change that. Since we are running OpenBSD “virtually” through KVM, our target
network interface will be vio0.
Edit the /etc/hostname.vio0 file and add the following:
dhcp
!route add default <your_gateway_ip>
The <your_gateway_ip> can be found under the Network tab of your
dashboard.
The next file we need to tweak is /etc/resolv.conf. Add the following to it:
nameserver 8.8.8.8
nameserver 1.1.1.1
These nameservers are based on your selected IPs under the Resolvers section of
Network in the Linveo dashboard. Change these as you see fit, so long as
they match what you place in the resolve.conf file.
Finally, the last file we need to edit is /etc/pf.conf. Like the others, add
the following:
pass out proto { tcp, udp } from any to any port 53
Final Stretch
Now just reboot the server. Log back in as your desired user and everything should be working as expected! You can perform a simple test to check:
ping openbsd.org
This should work - meaning your network is up and running! Now you’re free to enjoy the beauty that is OpenBSD.