Setup Mullvad VPN on OpenBSD via WireGuard
2025-07-16
I’m a big fan of Mullvad’s approach on true privacy and very simple pricing. Most other VPNs market themselves for torrenting anonymously or using streaming services outside of your real location. These features are fine, but when a company is offering you 85% off a year subscription to their VPN - you can bet your bottom dollar they will sell you out in a heartbeat.
Mullvad has only recently been subject to a search warrant but even then no customer data was obtained. From the post:
Mullvad have been operating our VPN service for over 14 years. This is the first time our offices have been visited with a search warrant.
Good stuff. Being able to pay anonymously with cash via mail drop-off is pretty great, too.
But enough praise, let’s walkthrough my Mullvad setup on my OpenBSD desktop.
Note: The rest of this guide assumes you have already setup an account with Mullvad.
Installing & Configuring WireGuard
Since there is no “native” Mullvad application for OpenBSD (which I consider a good thing!), we will need to run wireguard against our Mullvad configuration file directly. Don’t worry, we’ll get that config later.
First we need to install WireGuard:
doas pkg_add wireguard-tools
Next we need to make our directory which will contain our soon-to-be generated configuration file:
doas mkdir /etc/wireguard
Mullvad’s WireGuard Configuration File Generator
Login to your Mullvad account and navigate to Downloads > WireGuard configuration. On this page select Linux as your platform and then click Generate key.

Mullvad will then ask you to customize your setup. Choose your desired country, location, and server. Below that you will see options for connection protocol, tunnel traffic, along with a section to customize your level of content blocking. Edit these as you see fit.
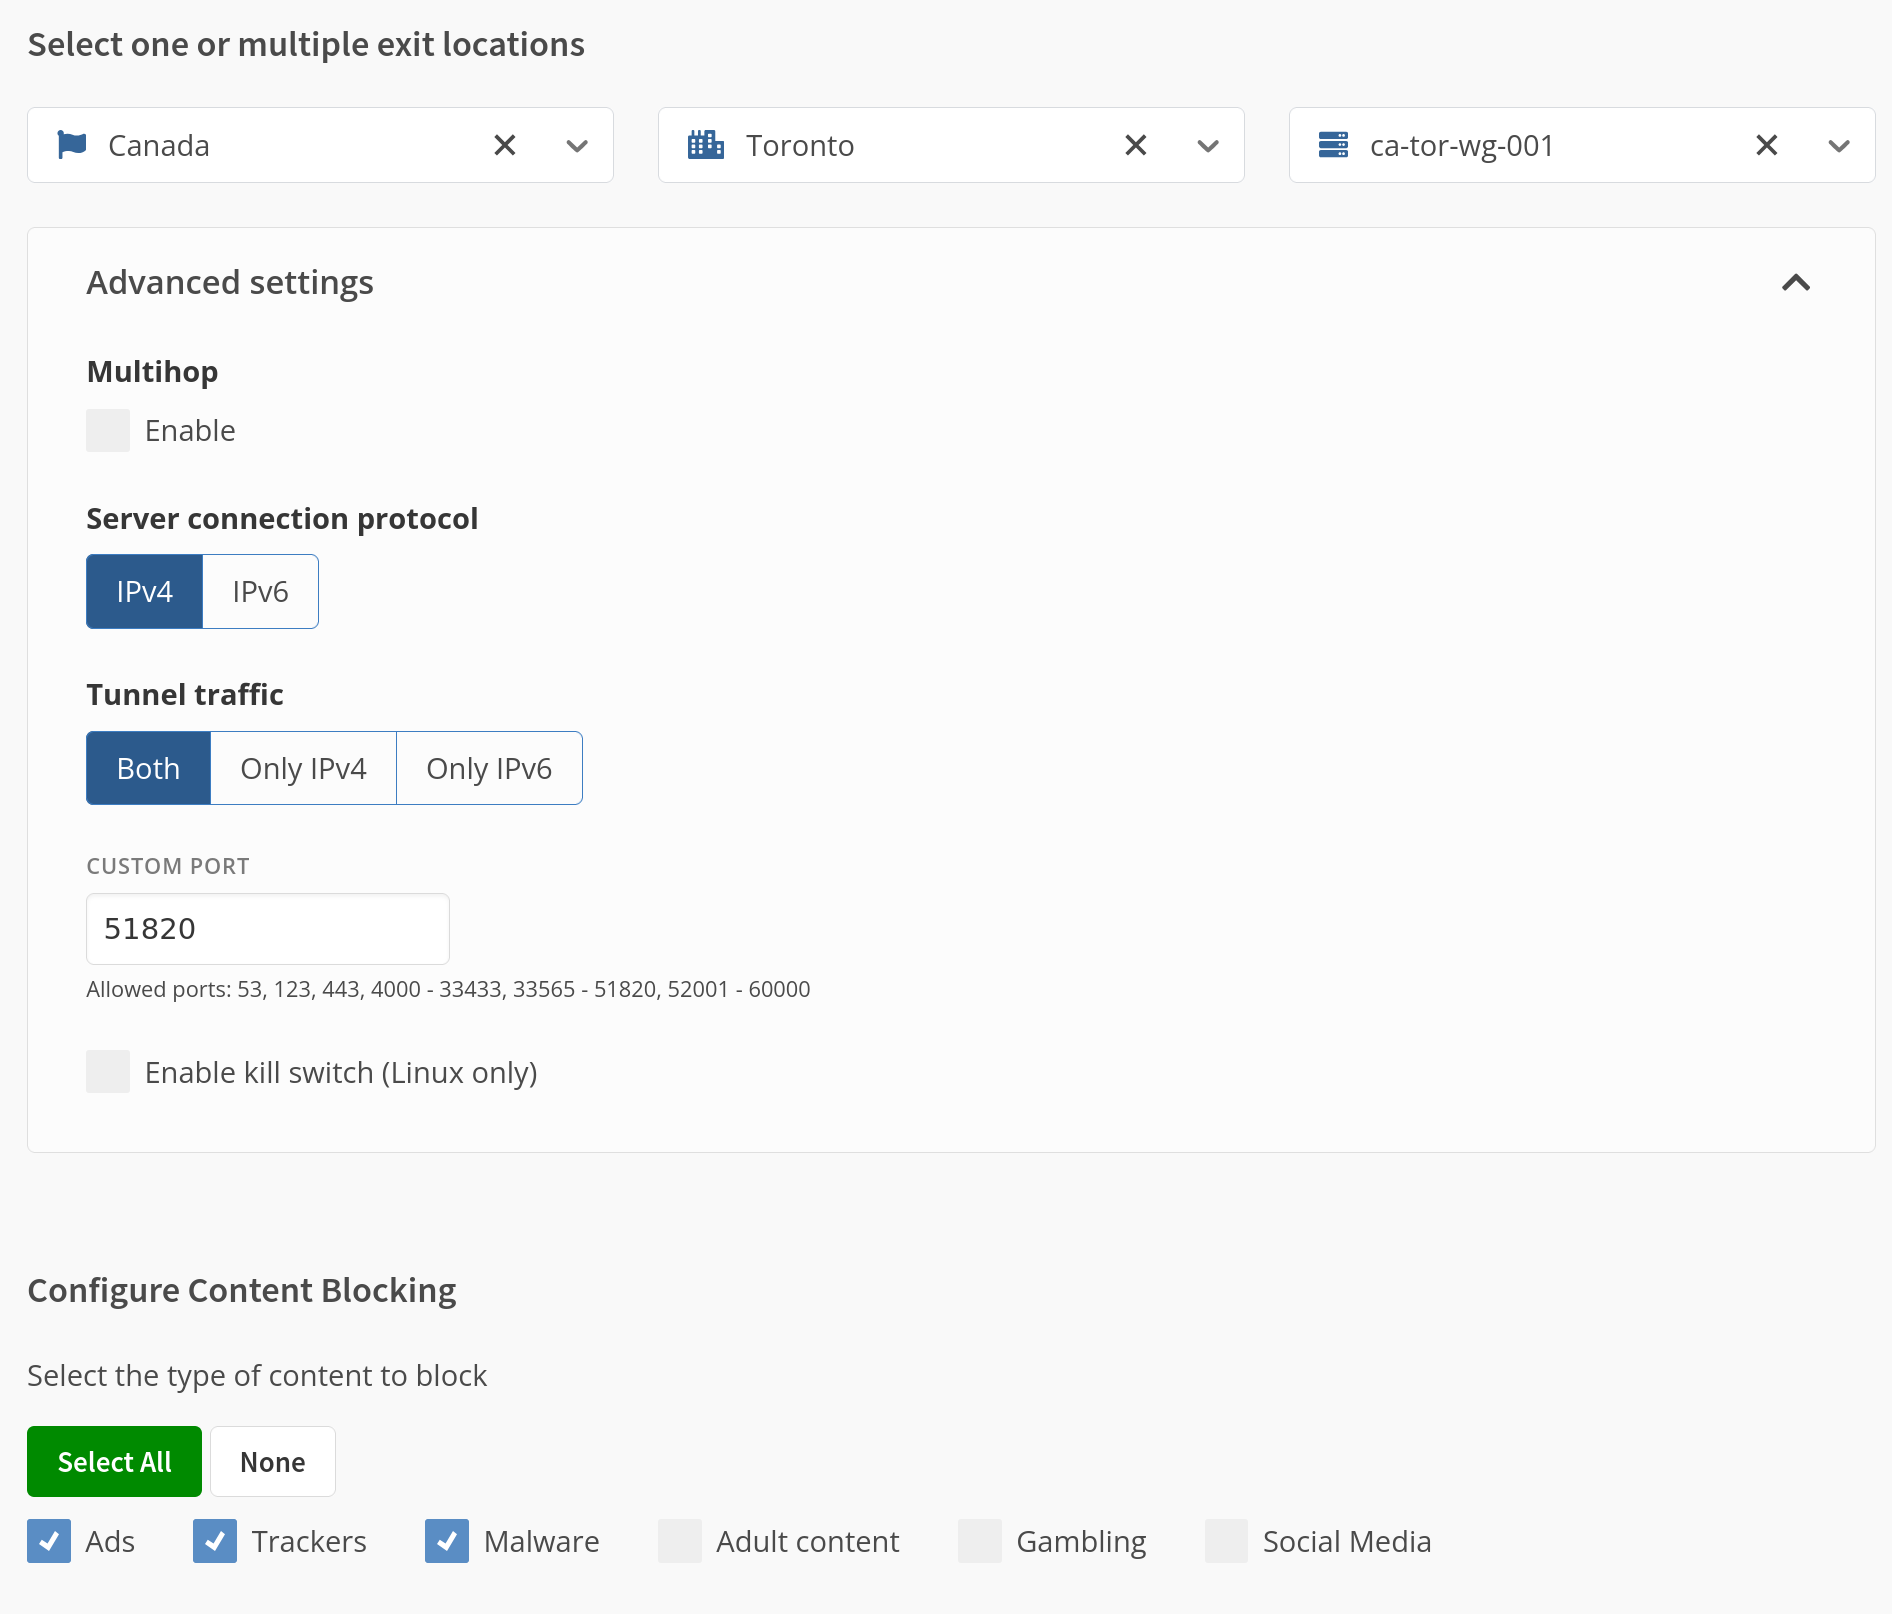
Once you’re done just download the file (or scan the code).
Back to OpenBSD
Now we make a new file called wg0.conf inside the /etc/wireguard directory we created previously. Copy the content from the Mullvad WireGuard file you downloaded and place it inside this file. It should look something like this:
[Interface]
# Device: Funny Device Name
PrivateKey = YOUR-PRIVATE-KEY
Address = 10.XX.XXX.XXX/32
DNS = 100.XX.X.X

[Peer]
PublicKey = YOUR-PUBLIC-KEY
AllowedIPs = 0.0.0.0/0
Endpoint = 178.XXX.XXX.X:51820
With that file created and saved, we can now start wireguard. There is no direct system call for WireGuard, instead we need to run the userspace tool wg:
doas wg-quick up wg0
That’s it! A quick test to see if it’s working properly is to navigate to mullvad.net and see what it reports at the top of the page. When you want/need to disable Mullvad, just run the same tool through down:
doas wg-quick down wg0
Enjoy a more private browsing experience!